Transfrom Scratches into Shine: How to Revive Parquet
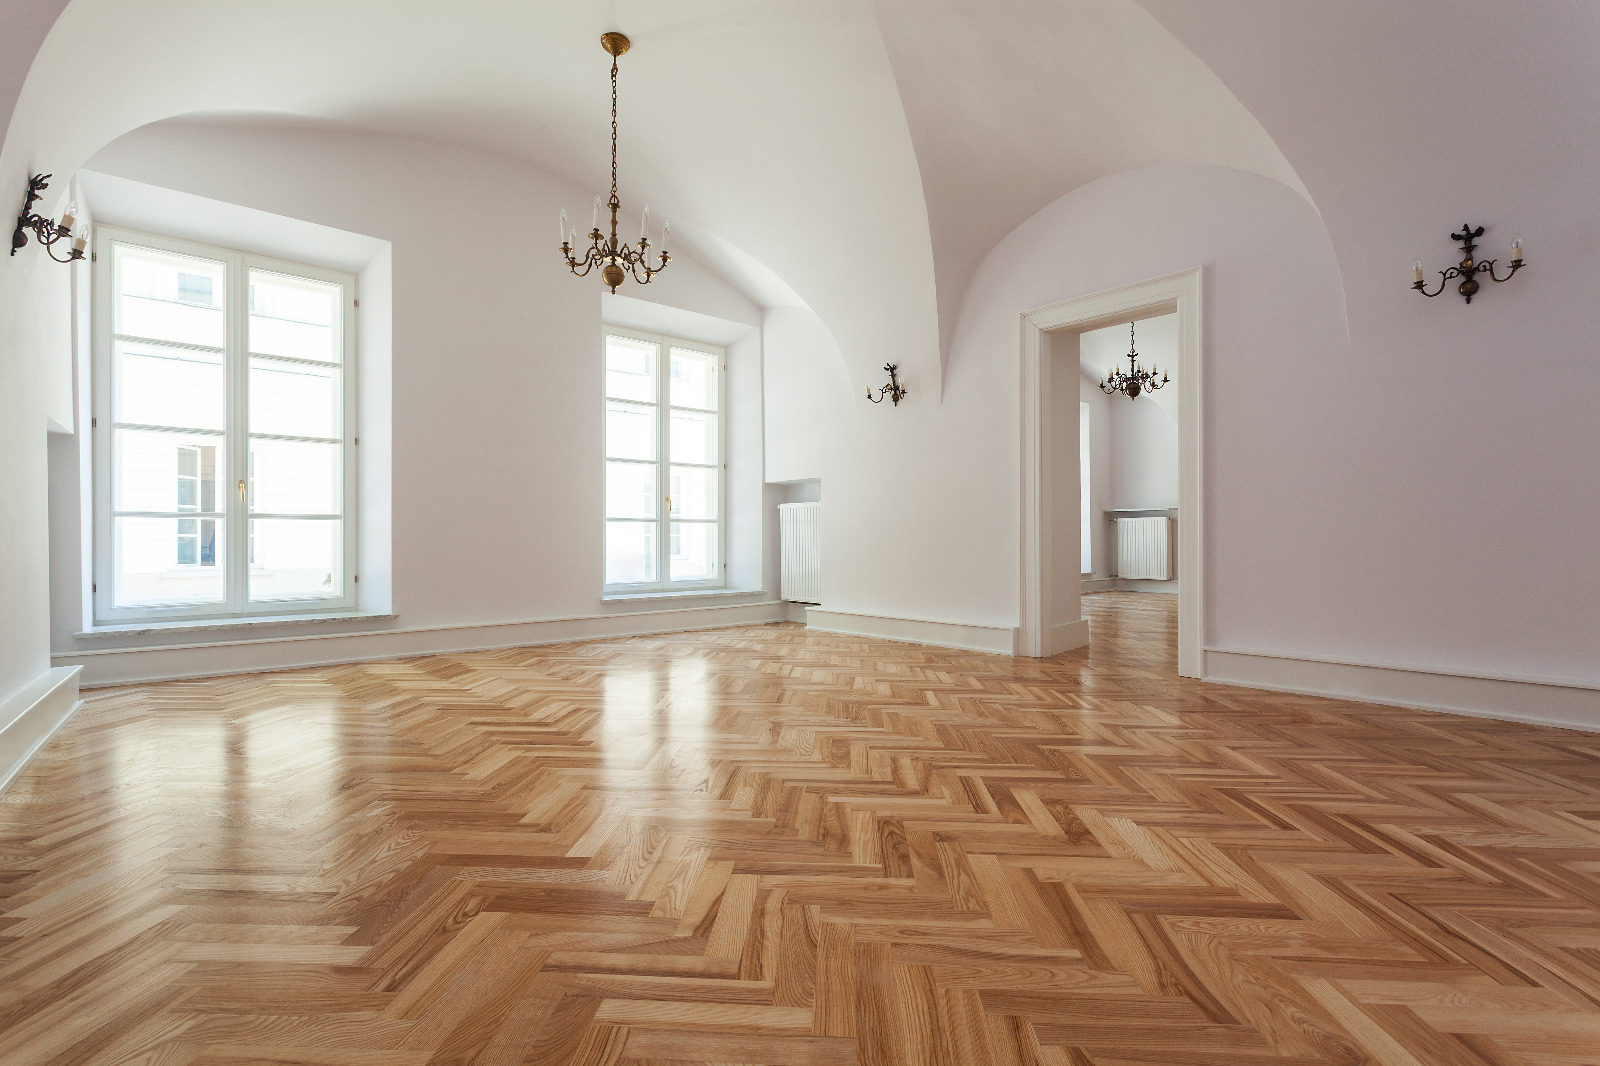
If you’ve stared at your parquet floor and felt your jaw tighten at the sight of scuffs, scratches and dull patches, you’re not alone. Parquet is a showpiece – a floor that’s meant to dazzle – and nothing needles the eye more than a once-radiant herringbone or chevron now looking tired. The good news? There’s a tried-and-tested way to lift that irritation and restore the drama in the grain. That’s where Parquet Sanding works its magic, turning everyday wear into a glass-smooth, light-catching finish that feels new underfoot.
This guide is your friendly spellbook: what goes wrong, how professionals fix it, and how to keep the results looking flawless for years. Expect plain advice, a dash of craftsmanship, and a little wizardry.
What Makes Parquet So Special (and So Prone to Irritation)
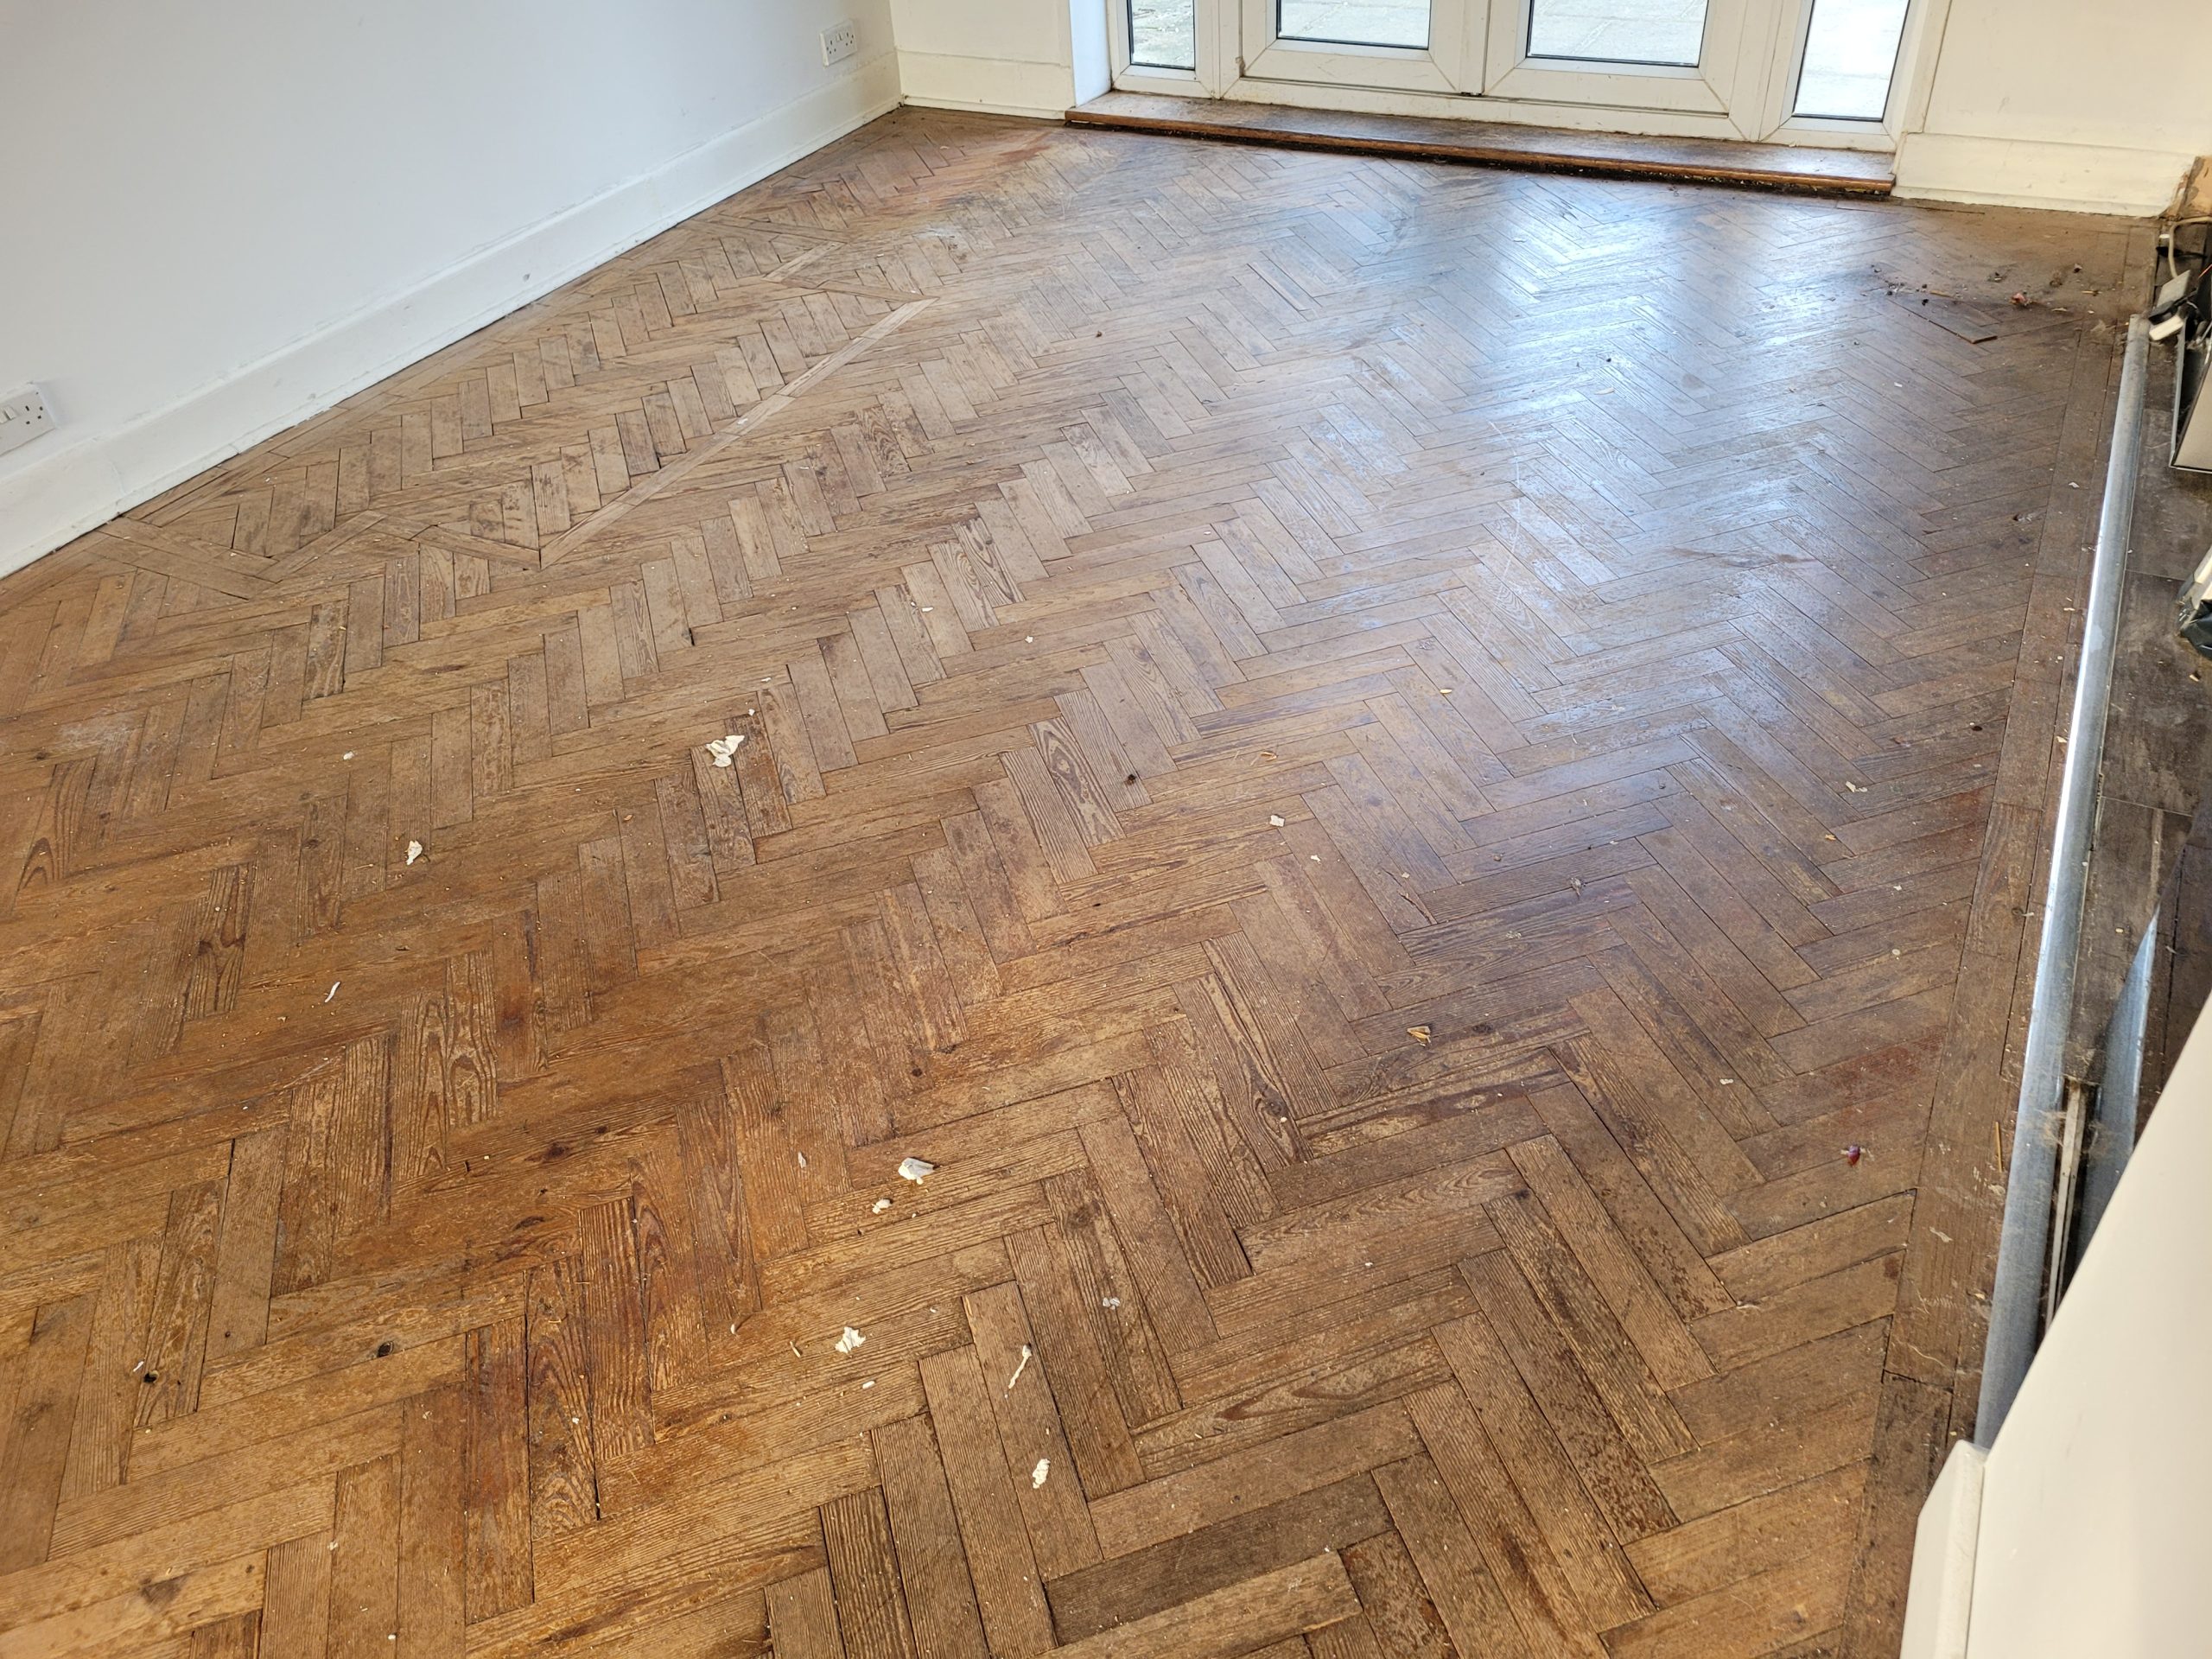
Parquet is fundamentally different from straight-laid boards. Instead of long planks running in one direction, it’s a geometric mosaic of small blocks laid at angles: herringbone, chevron, basketweave, brick, Versailles and more. Each block has a different grain direction from the ones beside it. That’s why parquet catches the light beautifully – and also why scratches seem to appear from nowhere. A mark that’s invisible from one angle shouts from another.
Common culprits include:
- Grit and dust walked in from outside, acting like sandpaper under shoes.
- Furniture legs scraping, even with pads that have compacted or come unstuck.
- Pet claws clicking happily across the pattern.
- Sunlight bleaching patches through windows, leaving the rest looking darker.
- Wrong cleaners – especially anything that leaves a film, attracting more dirt.
- Low humidity that dries timber and opens hairline gaps, making edges vulnerable.
Parquet suffers these indignities more visibly because of its multi-directional grain. When the gloss flattens or micro-scratches mount up, the floor loses that crisp, tessellated definition. The solution is not a quick coat of varnish; it’s a controlled resurfacing and refinishing process – and done right, it’s transformative.
The Calm Before the Craft: Inspection and Planning
Every successful restoration begins with a proper look. A professional will:
- Assess species and pattern. Oak, walnut, teak and merbau all respond differently to abrasives and finishes.
- Probe for movement. Loose or drummy blocks indicate failed bitumen or adhesive beneath.
- Check moisture. Moisture meters ensure the subfloor and blocks are stable enough to sand and finish.
- Spot repairs early. Missing or damaged pieces, lipping (where one block sits slightly higher), and edge crumble are noted for correction.
This pre-work matters because parquet is precision carpentry. Fixing the substrate and blocks first prevents the “ghosts” of defects reappearing through your final coat.
Preparation Is Half the Spell
Before a machine touches timber, the space is set up to keep dust and disruption to a minimum:
- Furniture out, fixtures protected. Skirtings, radiators and thresholds are masked; delicate areas are sheeted.
- Cable management and clean airflow. H-class extraction is connected to every tool; air changes are planned so fine dust doesn’t settle back onto fresh coats.
- Lighting arranged. Raking light reveals scratches and swirl marks that overhead lighting hides.
A thoughtful set-up means a cleaner job and a sharper finish.
Repairs and Gap Work: Making the Canvas Sound
Parquet rewards attention to detail:
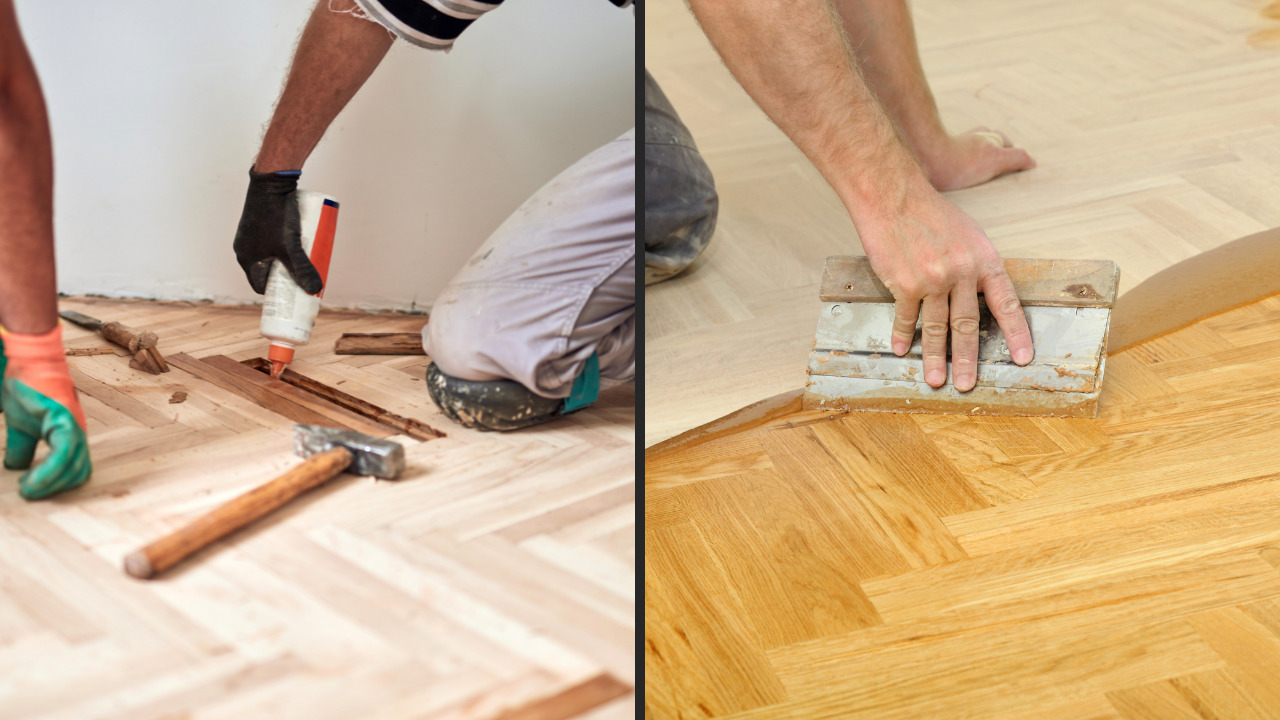
- Re-bonding loose blocks. Old bitumen can be compatible with modern adhesives if handled correctly, but sometimes it must be carefully removed.
- Replacing missing pieces. Matching species and grain matters; new blocks are acclimatised, trimmed and bonded.
- Levelling lipping. High edges are spot-reduced to bring the field back to plane.
- Gap filling. Fine resin mixed with fresh sanding dust from your floor gives a colour-matched fill. It’s trowelled across to tighten the field, reduce draughts and improve the visual.
With the canvas secure, you’re ready for the main event.
The Sanding Sequence: Craft, Not Just Kit
It’s tempting to think sanding is simply “start coarse, end fine”. In parquet, the geometry raises the stakes.
1) Cutting Passes
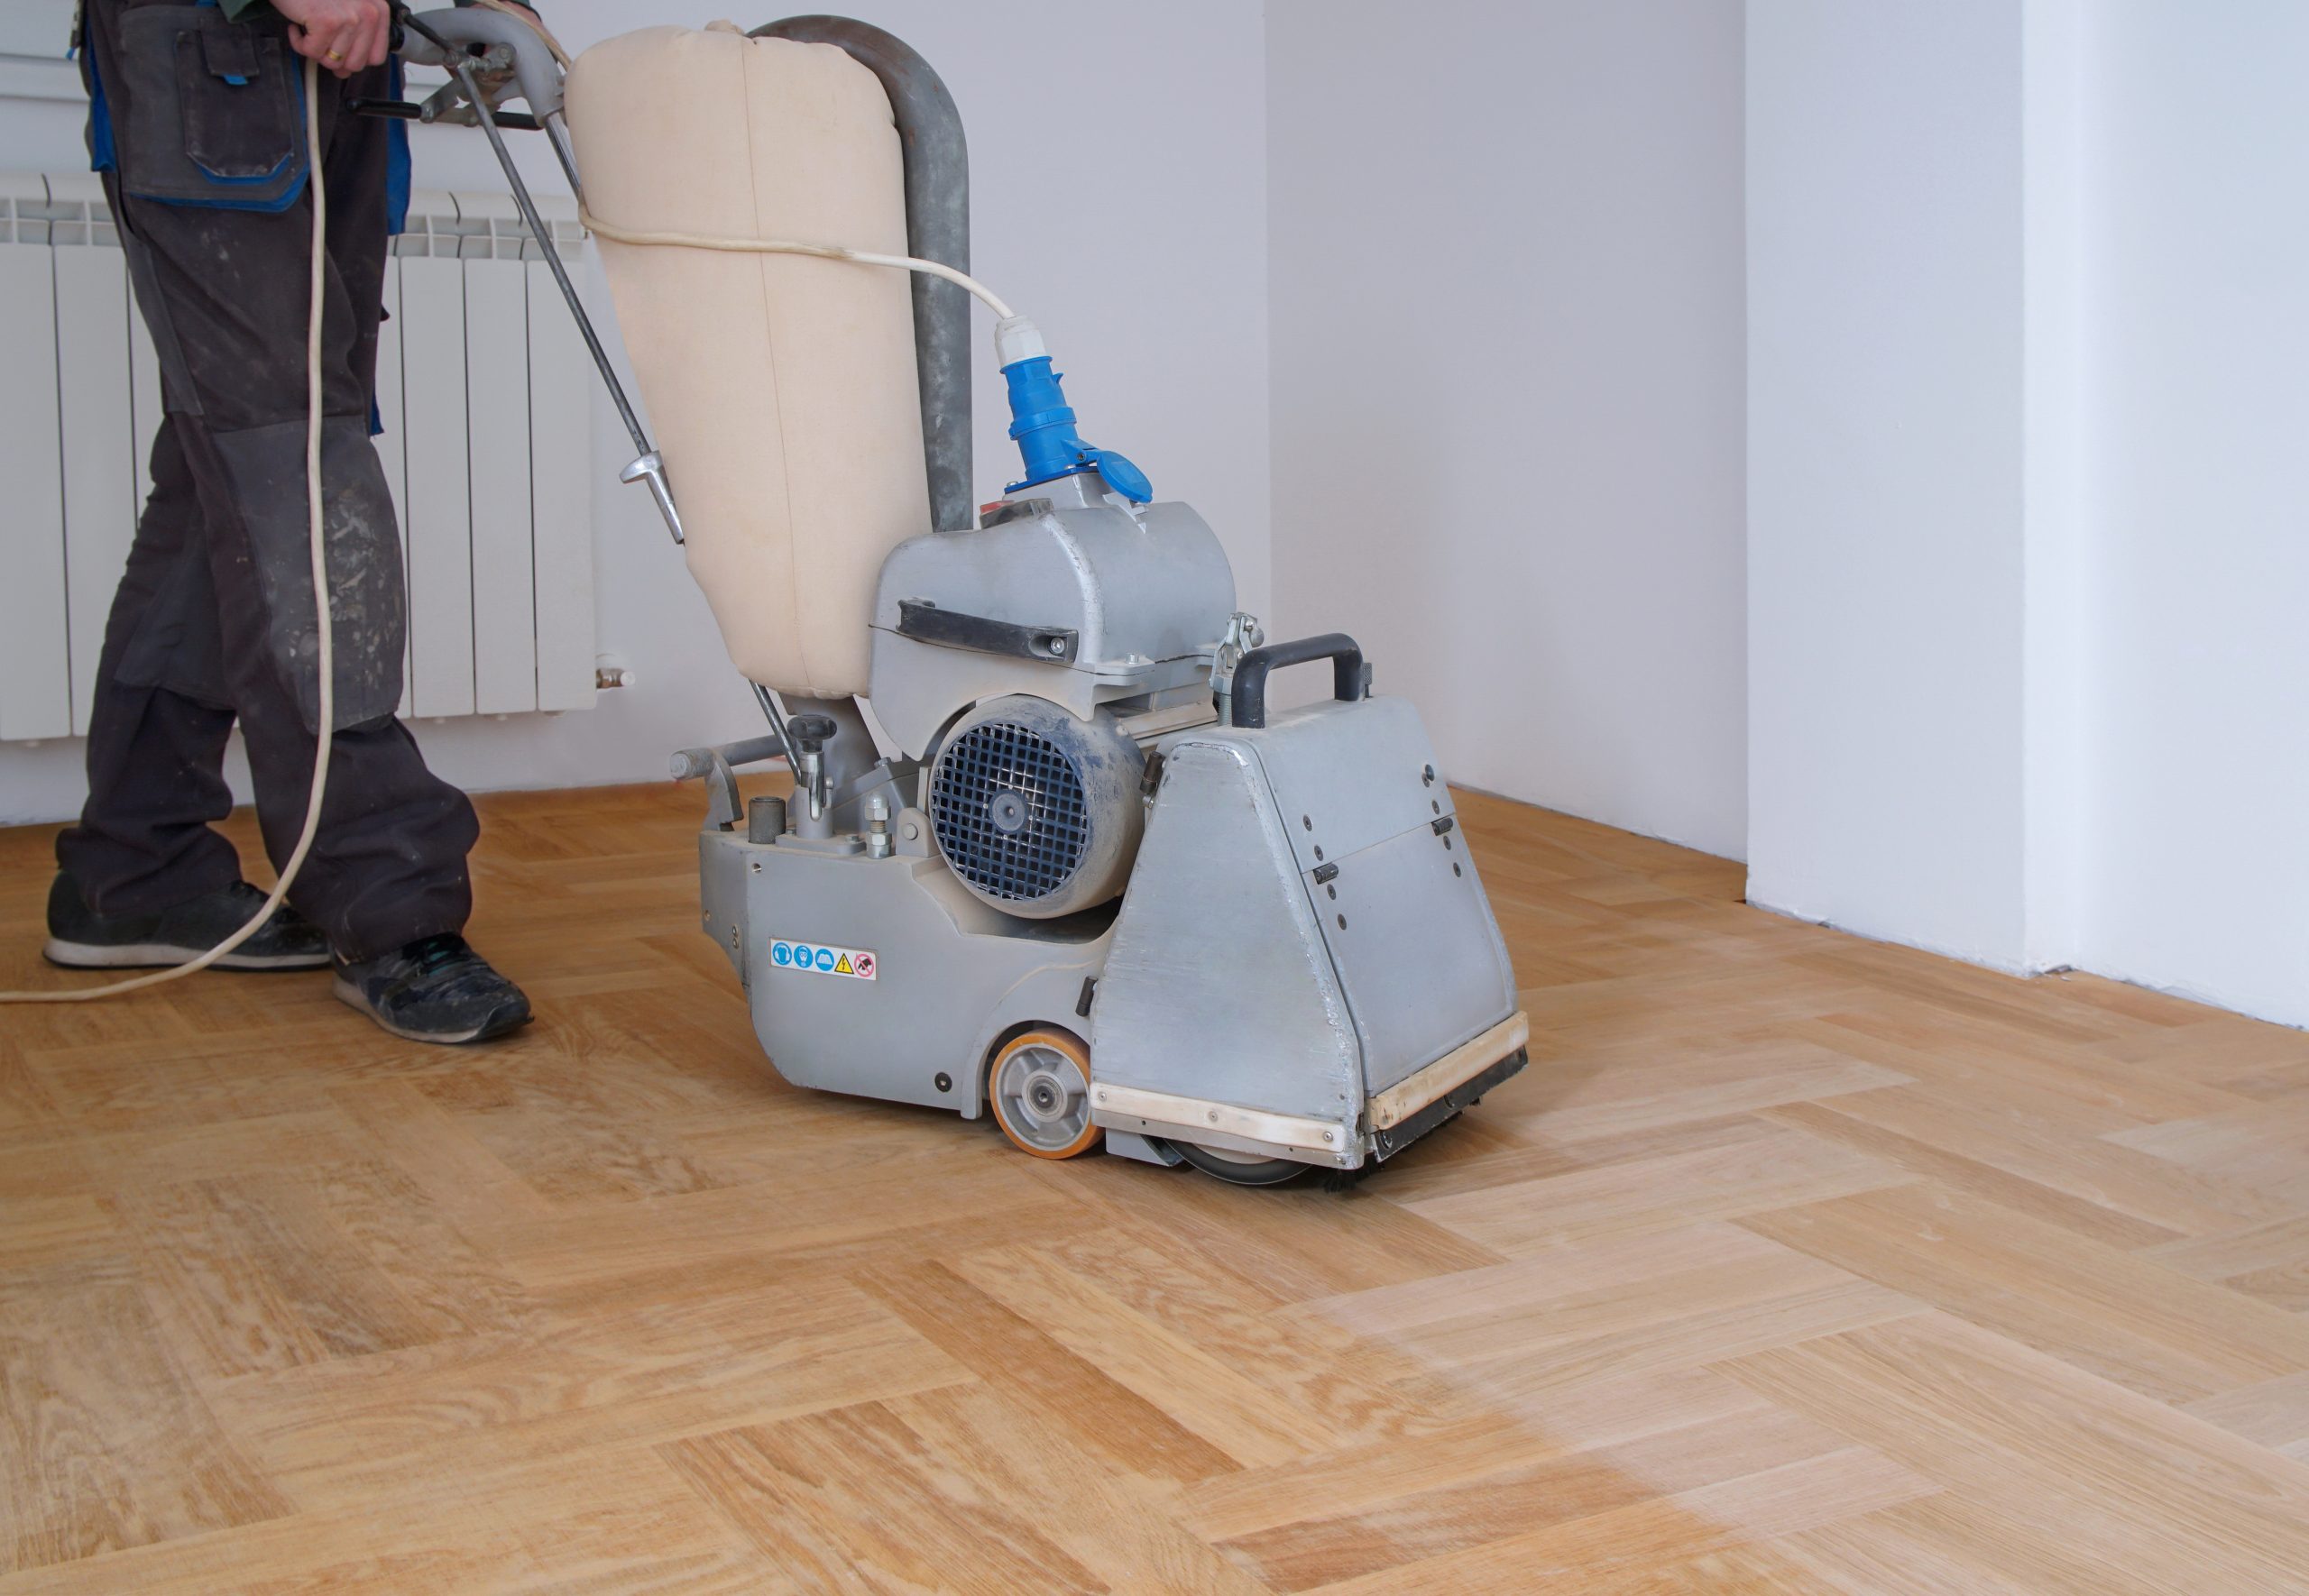
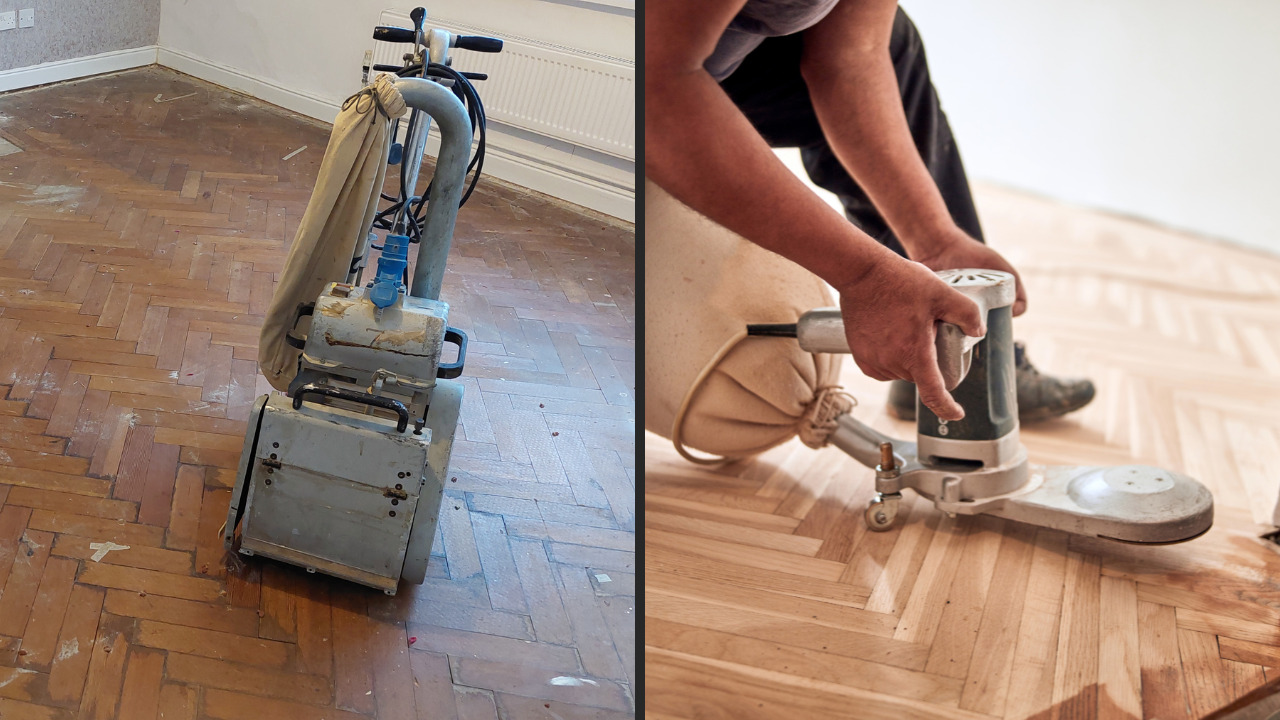
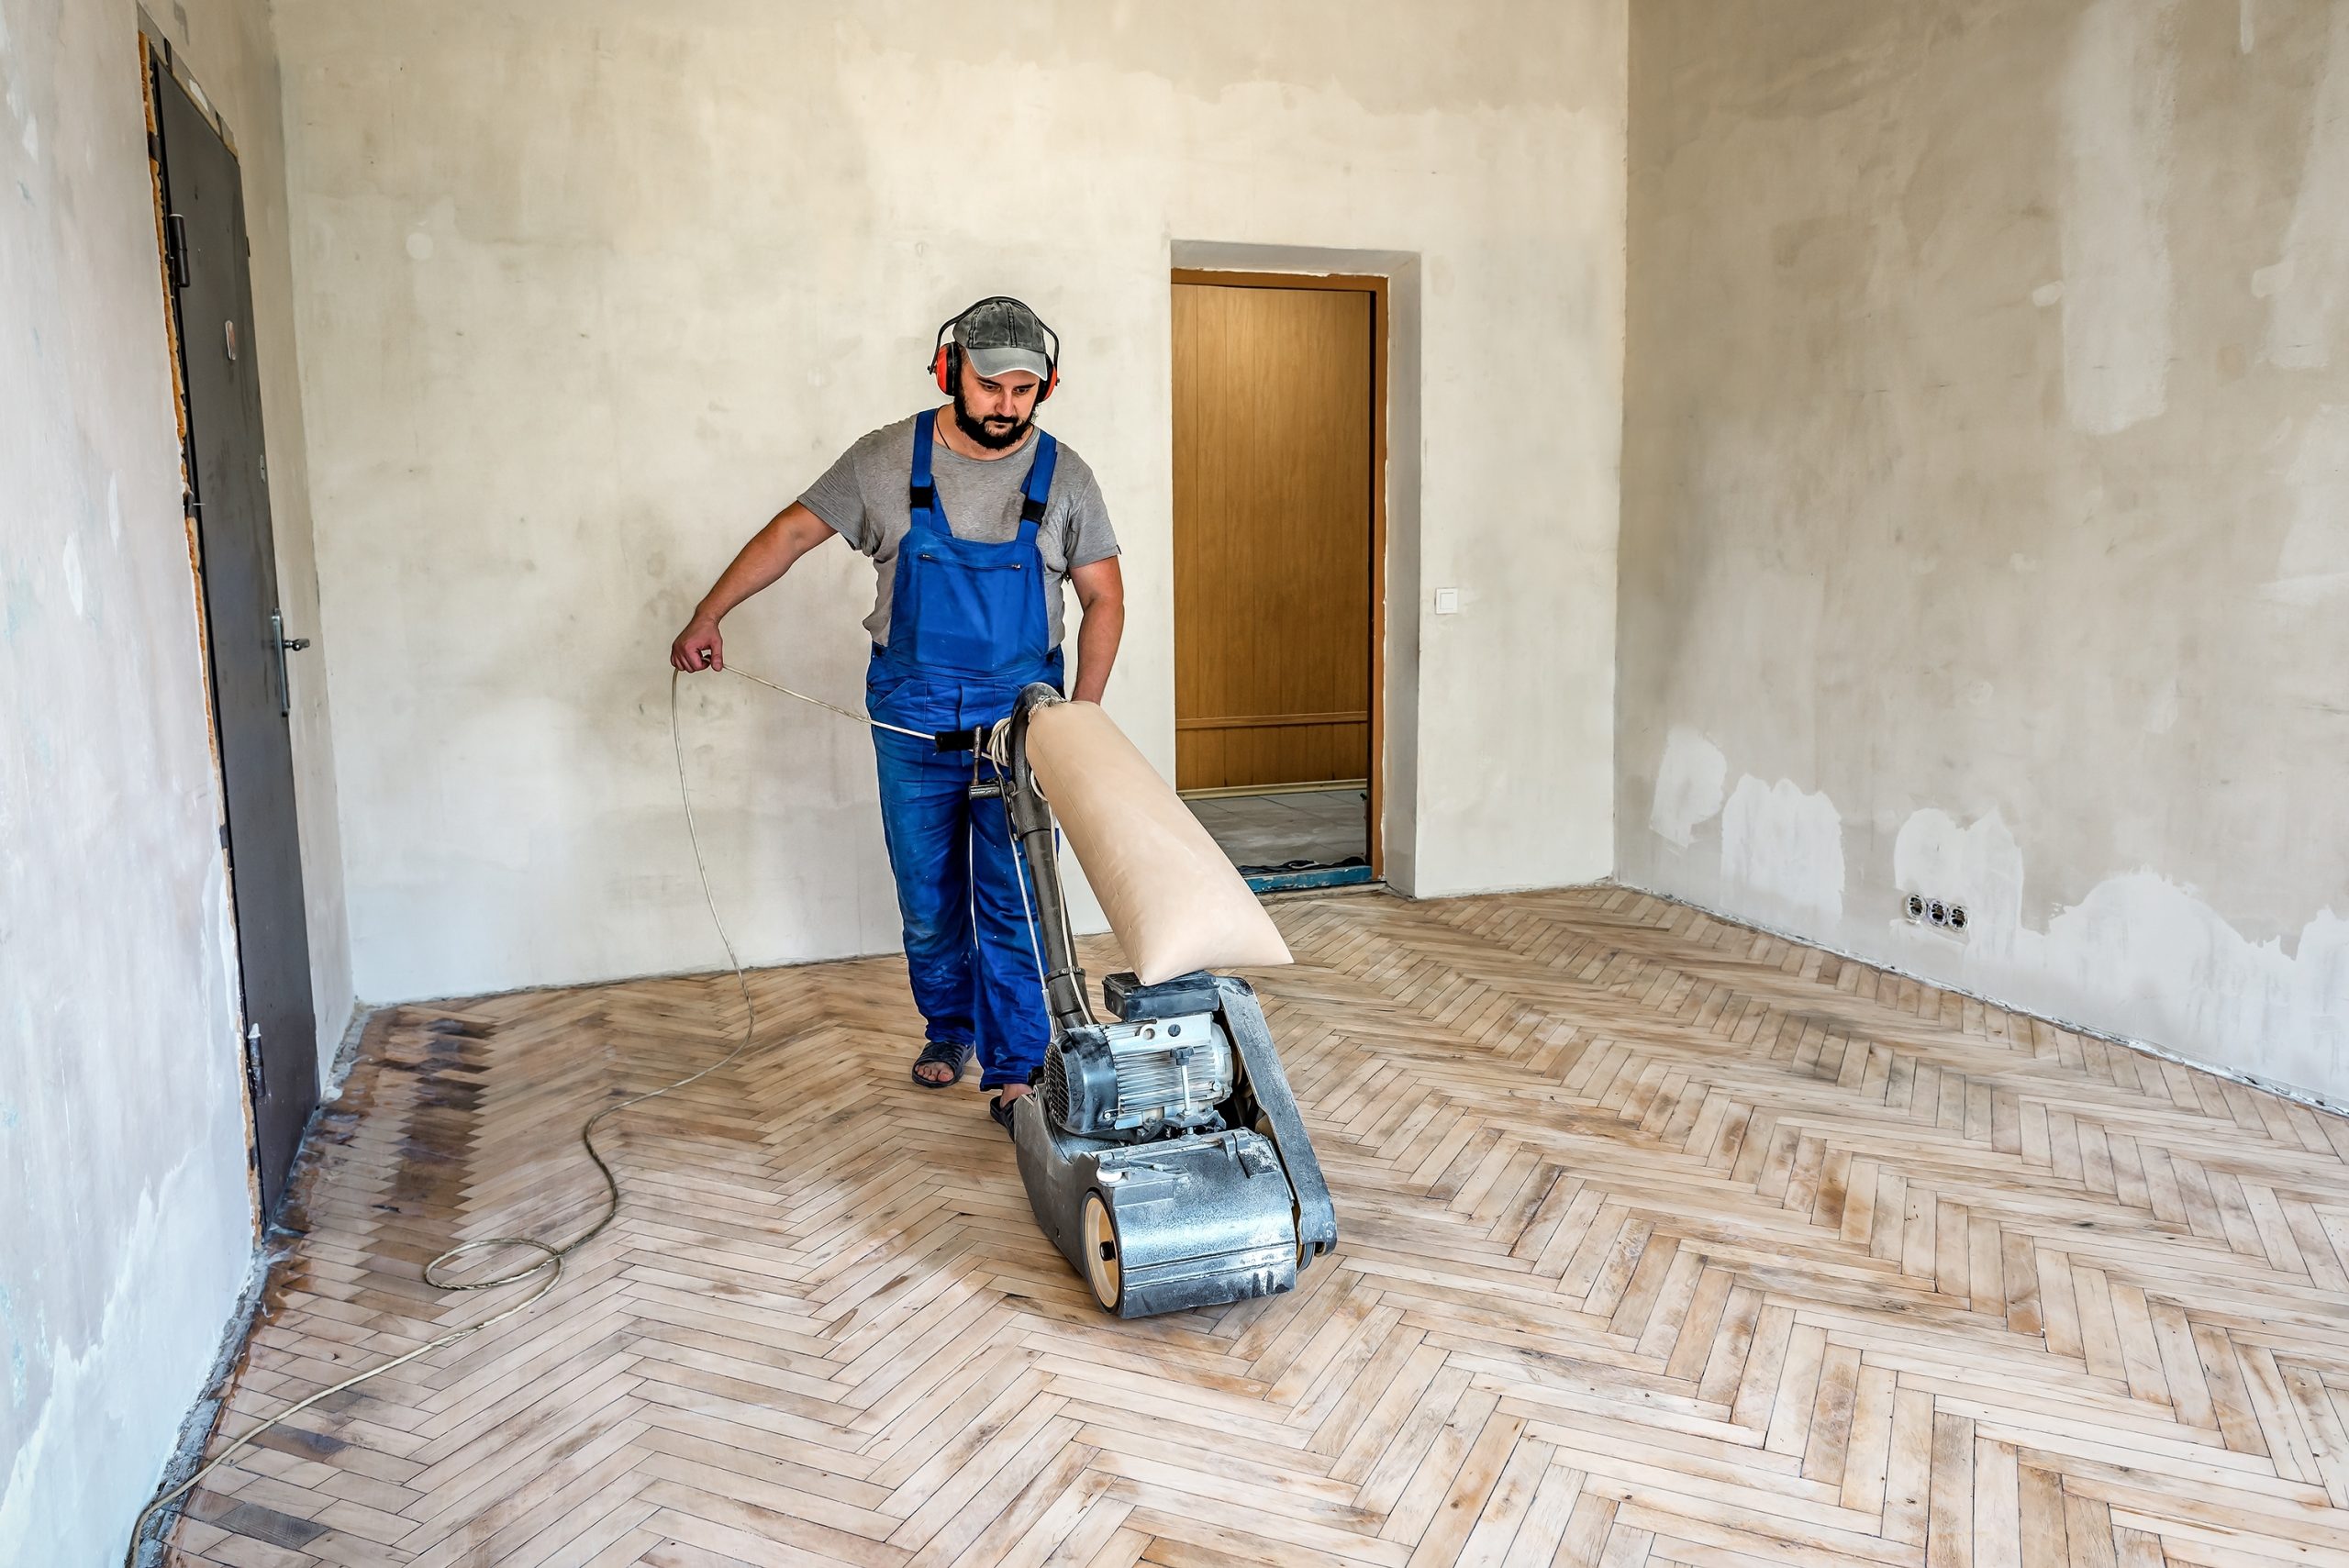
The first passes remove the old finish and level the floor. The direction is chosen to respect the pattern. In herringbone, for example, the cut often follows the 45-degree lines of the blocks rather than the room’s length. This avoids cross-grain tear-out and keeps edges crisp. The professional’s aim is an even, matte, scratch-pattern across the field with no tramlines or divots.
2) Progressive Refinement
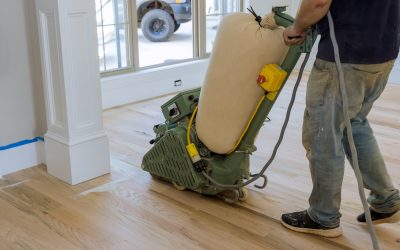
Abrasive grits are stepped sensibly – typically moving through medium to fine – so each pass removes the micro-scratches from the last without wasting wood. Planetary or multi-disc machines are used to blend the field and erase directional marks that belts and drums can leave. The mantra is “cut, refine, blend”.
3) Edges, Corners and Details
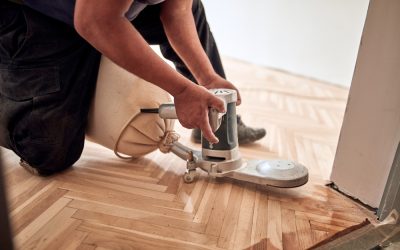
Edges are sanded with dedicated machines, then blended to the field. Corners, under radiators and tricky thresholds are hand-worked or handled with fine detail sanders. This is where parquet reveals the difference between an enthusiastic amateur and an old hand: there’s nowhere to hide missed scratches when the sun moves across the pattern.
4) Dust Control Throughout
H-class extractors catch the heavy stuff; air scrubbers quietly gather what’s left hanging. Between grits, the floor is vacuumed thoroughly, then tack-wiped to keep fines out of the next pass and, crucially, out of the finish.
Done well, Parquet Sanding doesn’t just flatten scratches – it restores the crisp geometry so the light “reads” every block cleanly again.
Stain, Oil or Lacquer? Choosing the Right Finish
Once the timber is perfectly keyed and clean, the finish sets the tone – literally and figuratively.
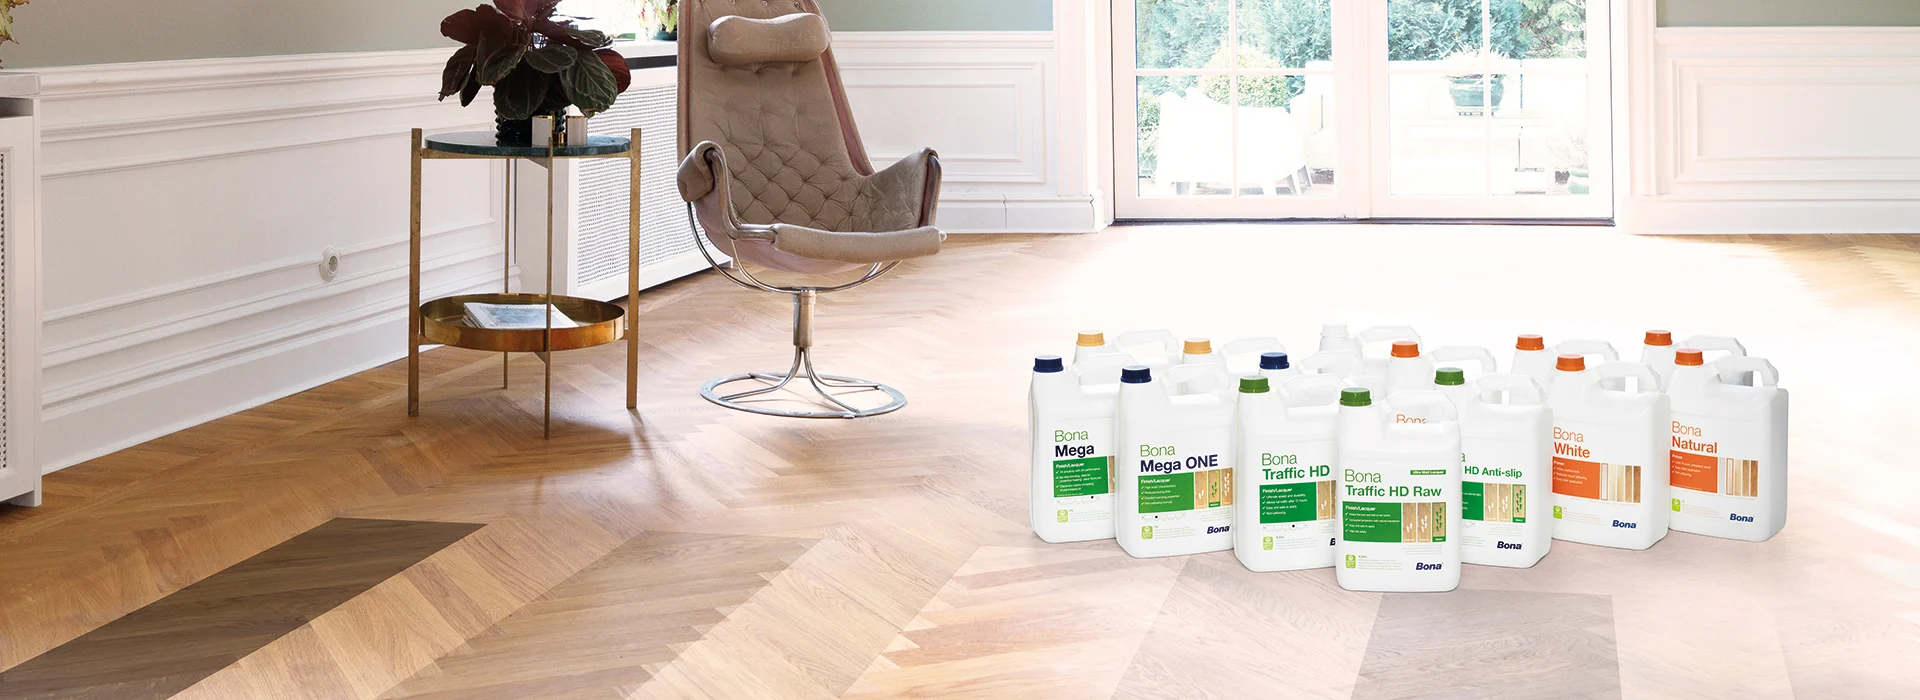
- Hardwax oil. Penetrates and protects with a soft sheen that looks wonderfully natural. It’s repairable in patches and ages gracefully. Great for busy homes that value warmth underfoot and easy maintenance.
- Hardening oil systems. Slightly tougher film than traditional oils, quicker cure times, good chemical resistance, still repairable.
- Lacquer (varnish). Modern water-borne lacquers deliver clear, tough protection with very low odour and fast re-coat times. Available in ultra-matt to gloss; often chosen for a “gallery-clean” look.
- Stains and reactive treatments. To deepen or shift colour before sealing. On parquet, subtlety wins – strong stains can overwhelm the pattern. Always sample first.
After Parquet Sanding, the finish shouldn’t simply “sit” on the wood; it should complement the geometry. Two or three coats, with a fine denib between coats, create that velvety, even sheen. The last coat is your “varnish of truth”: any missed scratch will announce itself, which is why the preparation is so meticulous.
Will Sanding Make My Parquet Too Thin?
It’s a fair fear, especially if you’ve heard horror stories. In reality, professional Parquet Sanding removes astonishingly little material when done with the right sequence and machines. Most solid parquet blocks are easily thick enough to be restored multiple times over their life. The aim is to remove finish and high points, not to plane the floor flat like a worktop. Where blocks are genuinely too thin (more common with engineered parquet that has a very thin wear layer), a reputable specialist will advise a gentle refresh or alternative approach rather than risk the timber.
What Results Should You Expect?
Here’s the honest, happy picture:
- Clarity. The pattern snaps back into focus. Edges look drawn with a ruler.
- Consistency. No milky patches, no “picture-framing” dullness around edges, just an even tone wall-to-wall.
- Comfort underfoot. The floor feels silky, not gritty. Socks glide; chairs move without screeching.
- A manageable care routine. No more guessing at mystery products; you’ll have a simple plan that keeps the sheen alive.
And the best part? The room suddenly feels bigger and brighter because clean parquet throws light around like cut glass.
DIY vs Professional: What’s Sensible?
Could a confident DIYer rent a sander and have a go? Perhaps – but parquet is less forgiving than straight boards. The challenges aren’t just operating the machines; they’re about reading the pattern and timber, setting the abrasive sequence, blending edges and field, and maintaining clean airflow so the finish lays flat. A small mistake can be visible forever, or at least until the next restoration.
If you’re tempted, weigh up:
- Risk of dish-outs and chatter marks. These telegraph across parquet patterns.
- Dust management. Domestic vacuums aren’t designed for the fines produced by sanding.
- Finishing skill. Lap marks, overlaps and roller lines shout on geometric floors.
- Time. Rooms are out of action for days. Professionals compress that downtime.
For many homeowners, professional Parquet Sanding ends up cheaper than a DIY attempt followed by a rescue job – and the result is predictably better.
The Timeline: How Long Will It Take?
Every project is unique, but a typical living room might follow this rhythm:
- Day 1: Inspection, repairs, re-bonding loose blocks, initial cuts and the first refinement passes.
- Day 2: Finer sanding, gap filling, blending edges, vacuum and tack, first coat of finish.
- Day 3: Light denib, second coat; sometimes a third coat the same day with fast-cure systems.
- Cure window: Light foot traffic after 24 hours (check product), rugs and heavy furniture after a week.
Good teams stage the work so you’re back to normal life quickly, without shortcutting the cure times that give finishes their toughness.
Keeping Your “New” Floor Flawless: Aftercare That Works
You don’t need a cupboard full of potions. You need a simple, consistent routine:
- Daily/regular: Vacuum with a soft brush. Grit is the enemy.
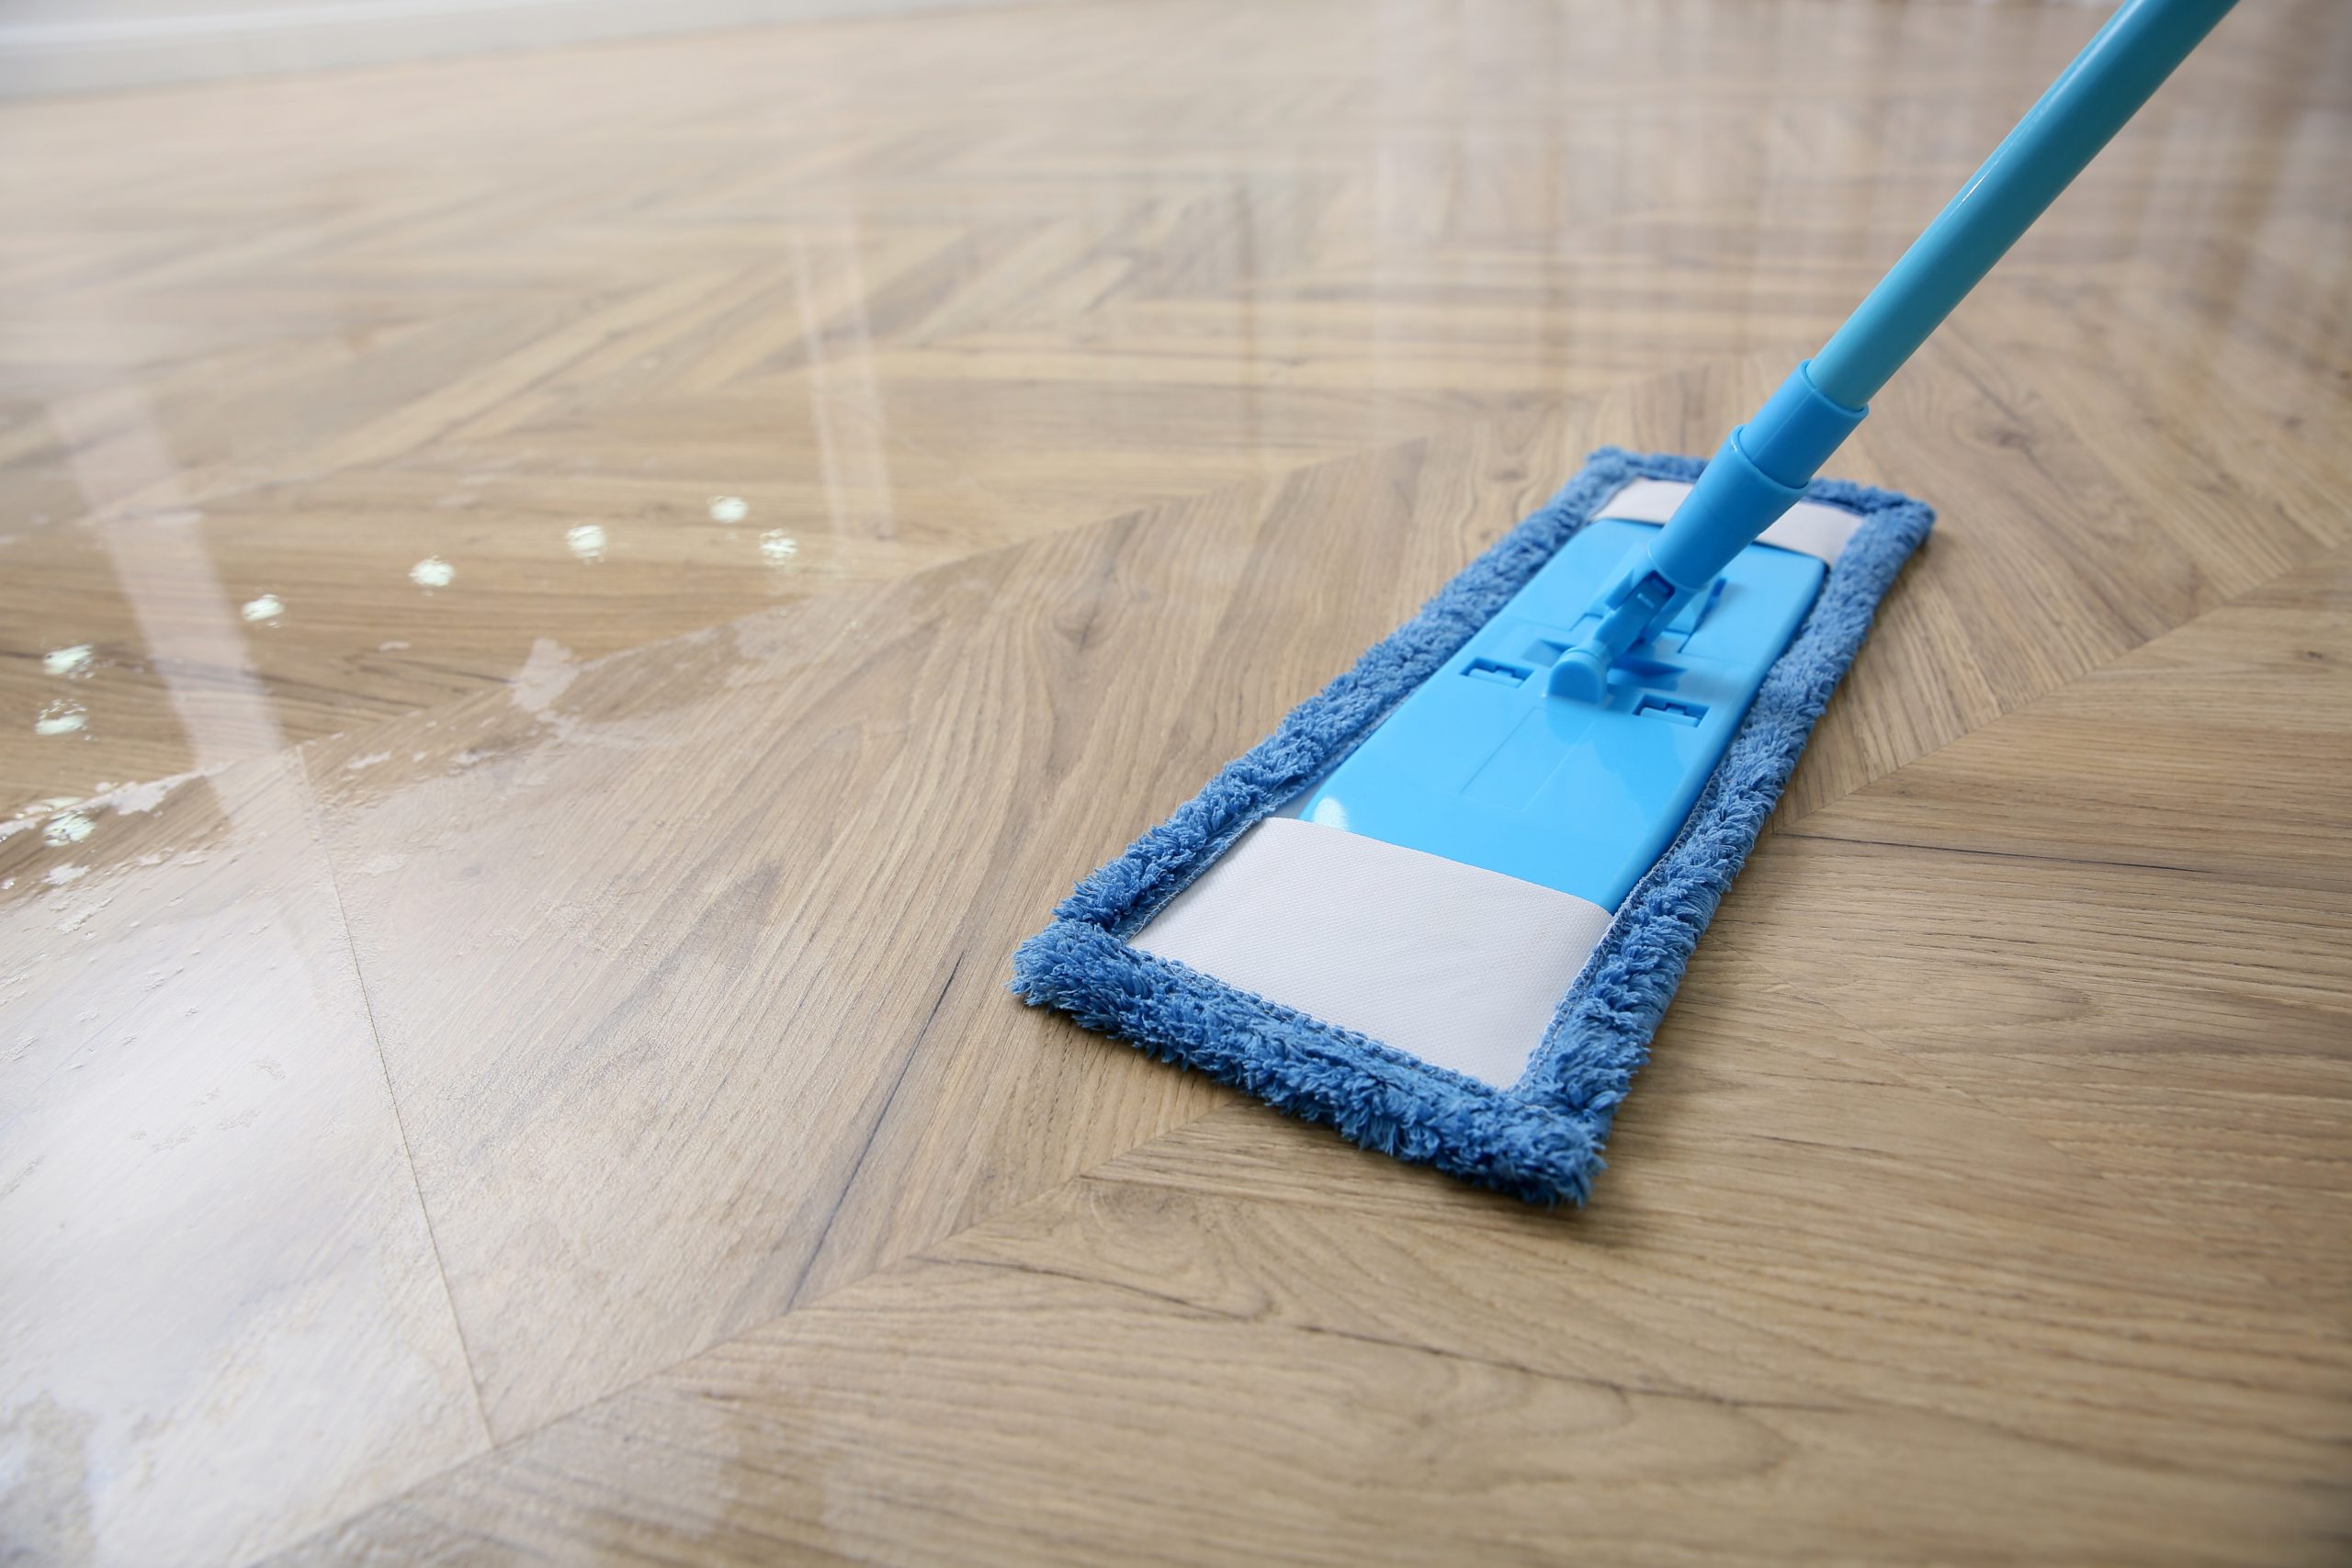
- Weekly: Damp-mop with the finish-maker’s recommended cleaner. No steam mops, no fairy-liquid cocktails.
- Furniture pads: Felt on everything that moves; replace pads as they compress.
- Rugs and mats: Coir or rubber-backed mats at entrances trap grit; rotate rugs occasionally to even out sunlight.
- Shoes off, slippers on: A cultural shift that pays dividends.
- Top-up care: For oiled floors, a maintenance oil once or twice a year restores depth. For lacquered floors, a refresher polish can perk up sheen.
- Re-coat schedule: A single maintenance coat before the finish wears through is quick, economical and keeps you out of the full sand-back cycle for much longer.
Think of it like servicing a car. Small, regular care prevents big, expensive interventions.
Common Myths, Debunked
“Sanding creates a dust apocalypse.”
With modern H-class extraction and air scrubbers, dust is captured at source. You’ll see some fine settling, but nothing like the horror stories from decades past.
“Parquet will never look level.”
Parquet isn’t meant to be dead-flat like stone; it’s timber. But careful cutting and blending produce a visually level, beautifully even surface without lipping.
“Dark stains hide everything.”
They hide some things and highlight others. Deep colours can emphasise pattern edges and any sanding errors. The best stain is the one that suits your room, applied over a flawless key.
“I can skip repairs and just sand.”
Sanding over loose blocks polishes a problem. Adhesion and stability first; sheen second.
“A cheaper finish saves money.”
False economy. Quality finishes last longer, look better and are easier to maintain. The cost difference spread across years is tiny; the quality difference isn’t.
Sustainability and Health: The Sensible Bits
Modern finishes are impressively low-odour and low-VOC, and many are certified for indoor air quality. Machines with efficient extraction protect both the team and your home. Timber is one of the most sustainable surfaces you can choose; restoring what you already have – instead of replacing it – is the greenest flooring decision you’ll make this decade.
What to Ask Before You Book
Choosing the right specialist matters. Ask:
- What’s your process for parquet patterns like mine? Listen for talk of cut directions, blending and dust control.
- What finishes do you recommend and why? The answer should match your lifestyle, not theirs.
- How do you handle repairs and colour-matching? Specifics beat generalities.
- Can I see recent projects? Photos in similar light help set expectations.
- What’s the aftercare plan? You want clear instructions and product recommendations.
A pro who welcomes questions is a pro who’ll do the patient, precise work parquet deserves.
Case-Study Style Walk-Through (So You Can Picture It)
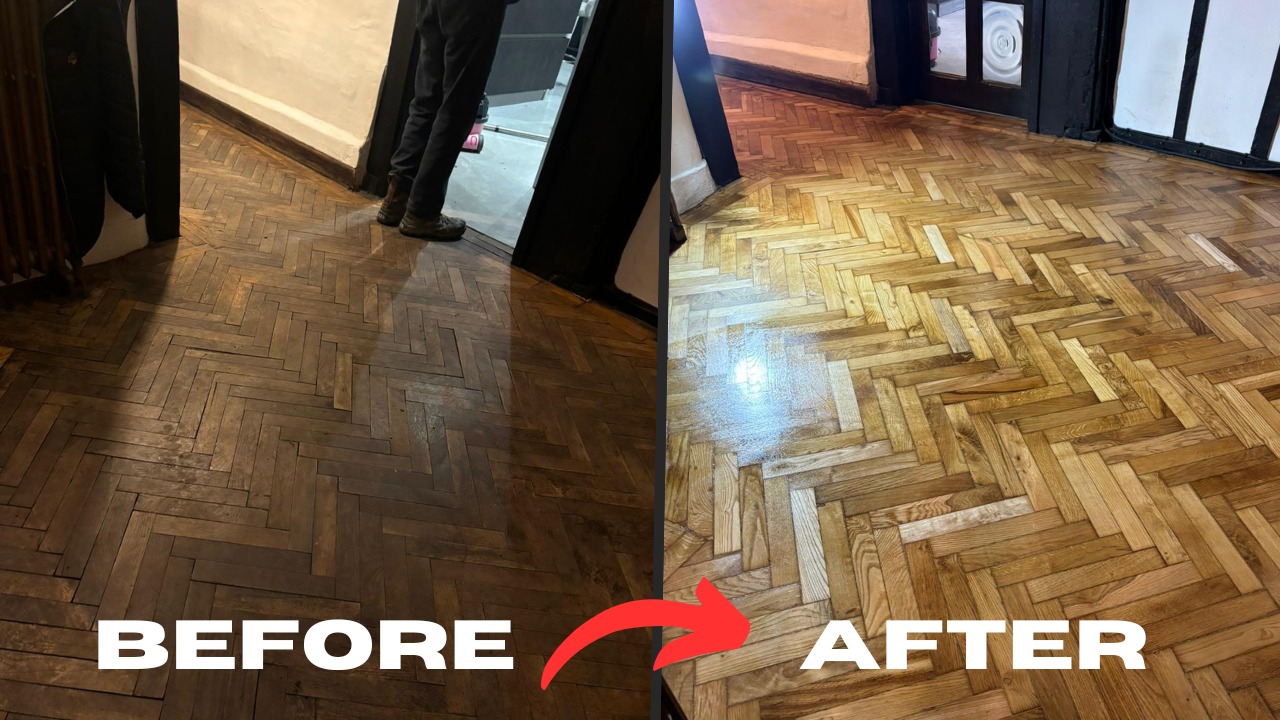
Imagine a 1930s sitting room with oak herringbone. The centre field looks dusty; the doorway has a grey, traffic-worn path; sunlight has paled the area by the bay window. Several blocks in the threshold are slightly loose.
- Stabilise. Loose pieces are lifted, old adhesive addressed, and blocks re-bonded. Gaps at the threshold are infilled with matching oak.
- First cut. The machine tracks the 45-degree lines of the pattern, removing the old lacquer evenly. The room already looks brighter, simply from the oxidation and grime being lifted away.
- Refinement. Abrasives step down; the scratch pattern tightens. Edges are blended, corners cleaned by hand.
- Fill. A resin-dust mixture is trowelled; it sinks into the hairlines and dries to a neat, colour-true fill.
- Final prep. Vacuum, tack, lights adjusted to catch any remaining swirls, then resolve them before finishing.
- Finish. A water-borne lacquer in “matt” keeps the wood looking natural while offering excellent scratch resistance. Two coats today, a de-nib, then a third coat tomorrow morning.
- Reveal. When the sun moves across the bay at noon, the pattern seems to move with it – crisp, geometric, almost three-dimensional. That’s the reward for patient groundwork.
This is the difference between “it’s better than it was” and “wow”.
When Is the Right Time?
If you’re hesitating, these are telling signs it’s time to act:
- The finish has worn to bare timber along traffic lanes.
- Cleaning never seems to restore the look; the floor looks patchy within hours.
- Blocks feel rough underfoot even after a vacuum.
- You’re planning to decorate and want the skirtings pristine afterwards (floors first, then walls).
Early intervention is cheaper and easier. Waiting until the finish is completely exhausted usually means deeper work.
The Pay-Off: Why Homeowners Fall in Love With Parquet All Over Again
People talk about “adding value”, and yes, a restored parquet floor sells a lifestyle. But the day-to-day joy is simpler: a living room that feels considered; a hallway that welcomes; a dining space that looks dressed before you set the table. After Parquet Sanding and a sympathetic finish, your room gains that quietly expensive glow – minus the tantrums over every scuff.
Quick FAQs
Will I need to leave the house?
Usually not. With low-odour finishes and sensible planning, you can live around the work. You’ll avoid walking on the floor between coats and during curing.
What about the smell?
Water-borne lacquers and modern oils are very low odour. Good ventilation helps any trace dissipate quickly.
Can you fix dark water marks?
Often, yes – sanding removes many stains; some deep iron or pet stains may need targeted treatments or careful colour-work.
Will you re-use my existing blocks for repairs?
Where possible. Otherwise, matching reclaimed or new timber is sourced and blended.
How long will it last?
With proper aftercare and timely maintenance coats, many years. The key is to re-coat before you wear through the protective layer.
Ready to Swap Fury for Flawless?
If abrasions are spoiling your view (and your mood), it’s time to act. Book professional Parquet Sanding and let experienced hands bring back the crisp geometry, the satin glide underfoot, and that quietly luxurious glow your home deserves.
Prefer to talk it through first? Get advice on finishes, timelines and aftercare, and plan a schedule that fits your life. When the dust settles – literally and figuratively – you’ll wonder why you waited.